


Guides - Deploying WooCommerce through the Linode Marketplace
Quickly deploy a Compute Instance with many various software applications pre-installed and ready to use.
WooCommerce is a popular open source eCommerce plugin for WordPress that can power online storefronts to sell both digital and physical products for small-to-large businesses. A variety of themes for WooCommerce are available so you can create a store that looks the way you want it to. WooCommerce takes payments via major credit cards, bank transfers, PayPal, and other providers like Stripe. The WooCommerce plugin is free, but some themes and extensions have a cost.
Deploying a Marketplace App
The Linode Marketplace allows you to easily deploy software on a Compute Instance using the Cloud Manager. See Get Started with Marketplace Apps for complete steps.
Log in to the Cloud Manager and select the Marketplace link from the left navigation menu. This displays the Linode Create page with the Marketplace tab pre-selected.
Under the Select App section, select the app you would like to deploy.
Complete the form by following the steps and advice within the Creating a Compute Instance guide. Depending on the Marketplace App you selected, there may be additional configuration options available. See the Configuration Options section below for compatible distributions, recommended plans, and any additional configuration options available for this Marketplace App.
Click the Create Linode button. Once the Compute Instance has been provisioned and has fully powered on, wait for the software installation to complete. If the instance is powered off or restarted before this time, the software installation will likely fail.
To verify that the app has been fully installed, see Get Started with Marketplace Apps > Verify Installation. Once installed, follow the instructions within the Getting Started After Deployment section to access the application and start using it.
NoteEstimated deployment time: WooCommerce should be fully installed within 2-5 minutes after the Compute Instance has finished provisioning.
Configuration Options
- Supported distributions: Debian 10
- Recommended minimum plan: All plan types and sizes can be used, though a minimum of a 4GB Dedicated CPU Compute Instance is recommended for production websites.
WooCommerce Options
- Email address (required): Enter the email address you wish to use when configuring the WordPress admin user, generating SSL certificates, and optionally creating DNS records for a custom domain.
- Admin Username (required): Username for your WordPress admin user account.
- Admin Password (required): Password for your WordPress admin user account.
- MySQL
rootpassword (required): The root password for your MySQL database. - WordPress Database Password (required): The root password for your WordPress database.
- Website Title: Enter a title for your WordPress site.
Limited User (Optional)
You can optionally fill out the following fields to automatically create a limited user for your new Compute Instance. This is recommended for most deployments as an additional security measure. This account will be assigned to the sudo group, which provides elevated permission when running commands with the sudo prefix.
- Limited sudo user: Enter your preferred username for the limited user.
- Password for the limited user: Enter a strong password for the new user.
- SSH public key for the limited user: If you wish to login as the limited user through public key authentication (without entering a password), enter your public key here. See Creating an SSH Key Pair and Configuring Public Key Authentication on a Server for instructions on generating a key pair.
- Disable root access over SSH: To block the root user from logging in over SSH, select Yes (recommended). You can still switch to the root user once logged in and you can also log in as root through Lish.
Custom Domain (Optional)
If you wish to access your application using a custom domain, fill out the following fields.
- Linode API Token: If you wish to use the Linode’s DNS Manager to manage DNS records for your custom domain, create a Linode API Personal Access Token on your account with Read/Write access to Domains. If this is provided along with the subdomain and domain fields (outlined below), the installation attempts to create DNS records via the Linode API. See Get an API Access Token. If you do not provide this field, you need to manually configure your DNS records through your DNS provider and point them to the IP address of the new instance.
- Subdomain: The subdomain you wish to use, such as www for
www.example.com. - Domain: The domain name you wish to use, such as example.com.
- Would you like to be able to send password reset emails for WordPress? Creates the required DNS records and configures the server so you can send emails from WordPress, such as for resetting a password.
- Would you like to use a free Let’s Encrypt SSL certificate? If you would like to use the free Let’s Encrypt CA to generate TLS/SSL certificates, select Yes.
Getting Started After Deployment
After WooCommerce has finished installing, a confirmation email will be sent to the email address you provided during configuration, at which point you will be able to access your site.
Access Your WooCommerce Site
After WooCommerce and WordPress have finished installing, you will be able to access your site by copying your Linode’s IPv4 address and entering it in the browser of your choice. To find your Linode’s IPv4 address:
Click on the Linodes link in the sidebar. You will see a list of all your Linodes.
Find the Linode you just created when deploying your app and select it.
Navigate to the Networking tab.
Your IPv4 address will be listed under the Address column in the IPv4 table.
Copy and paste the IPv4 address into a browser window. You should see your WooCommerce site’s home page.
Once you have accessed your site via the browser, you can log in to the WordPress administrative interface and start configuring your store.
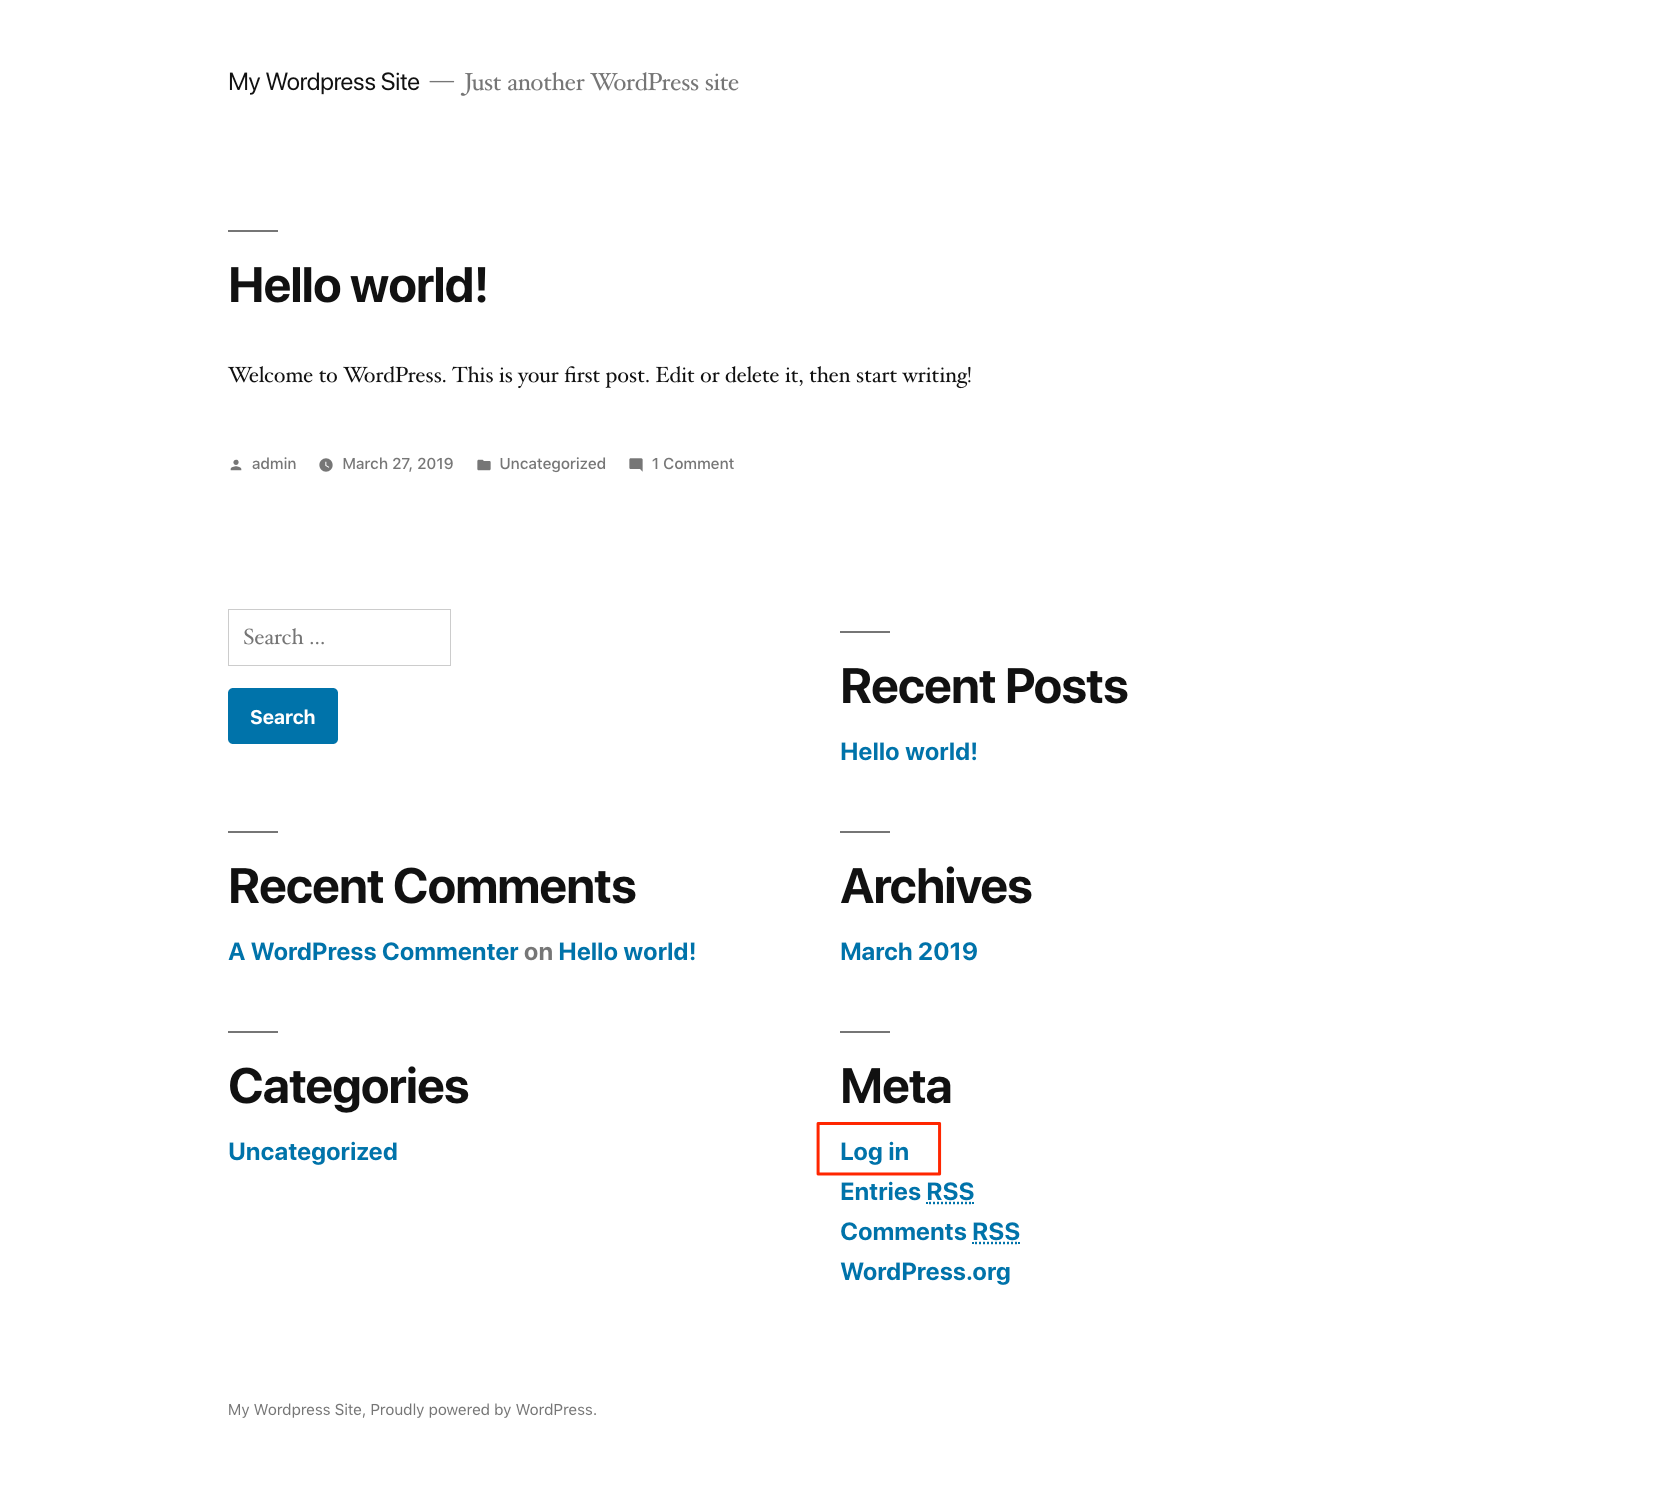
The address of the WordPress login page is
http://< your IP address >/wp-login.php. Or, you can click on the log in link that’s visible on your site’s home page, as highlighted below. Enter the credentials you previously specified in the Admin Username and Admin Password fields when you deployed the app.

Complete the WooCommerce Setup Wizard
When you first log in to the WordPress admin interface, you will be presented with a banner that asks you to complete the WooCommerce setup wizard:


Click on the Run the Setup Wizard button to visit this form and start your store configuration.
Software Included
| Software | Description |
|---|---|
| MySQL Server | Relational database. |
| PHP 7 | WordPress is written in PHP and requires PHP to operate. |
| Apache HTTP Server | Web server used to serve the WordPress site. |
| WordPress | Content management system. |
| WP CLI | The command line interface for WordPress. |
| WooCommerce | An online storefront plugin for WordPress. |
This guide may involve or result in sending email. In an effort to fight spam, Linode restricts …
NoteCurrently, Linode does not manage software and systems updates for Marketplace Apps. It is up to the user to perform routine maintenance on software deployed in this fashion.
More Information
You may wish to consult the following resources for additional information on this topic. While these are provided in the hope that they will be useful, please note that we cannot vouch for the accuracy or timeliness of externally hosted materials.
This page was originally published on