Linux Static IP Configuration
All Linodes are created with one IPv4 address and one for IPv6. An IPv4 address is assigned by our infrastructure from a pool of unused addresses when you create your Linode, and Stateless Address Autoconfiguration (SLAAC) is used for IPv6 assignment. Additional IPv4 or IPv6 addresses can be requested by opening a support ticket and detailing your requirements.
If you want to manually configure static addressing in your Linode’s operating system, this guide shows you how to do that. You will want to make these changes using Lish, so if a configuration error disconnects your SSH session, you won’t be locked out of a system that has no network access.
General Information
Interfaces
Each Linode has only one virtual network interface, eth0, but depending on your distribution, additional IPs can be assigned to interface aliases (ex: eth0:1, eth0:2, etc.). Most outbound connections will originate from the IP assigned to eth0, but if you need server daemons to bind to a particular IP address or interface, you’ll need to specify that in the appropriate configuration files.
Addressing
The IP blocks available to your Linode are shown below. Additionally, the subnet mask for private IPs should be 255.255.128.0, not 255.255.255.0.
- Public IPv4 - /24
- Private IPv4 - /17
- IPv6 - /64
Gateway
Although your Linode may have multiple IP addresses assigned, and additionally may be using virtual interfaces and aliases, you should only specify a gateway for one interface. That gateway should be on the same network as the desired IP address.
For example, if the address 198.51.100.5 is assigned to the interface eth0:3, you should use 198.51.100.1 as the gateway. A gateway should not be specified for private IP addresses.
The gateway in this instance works similarly to a router, and provides access to the wider internet and other Linode services. This must always be configured on your Linode in order to have network access.
DNS Resolution
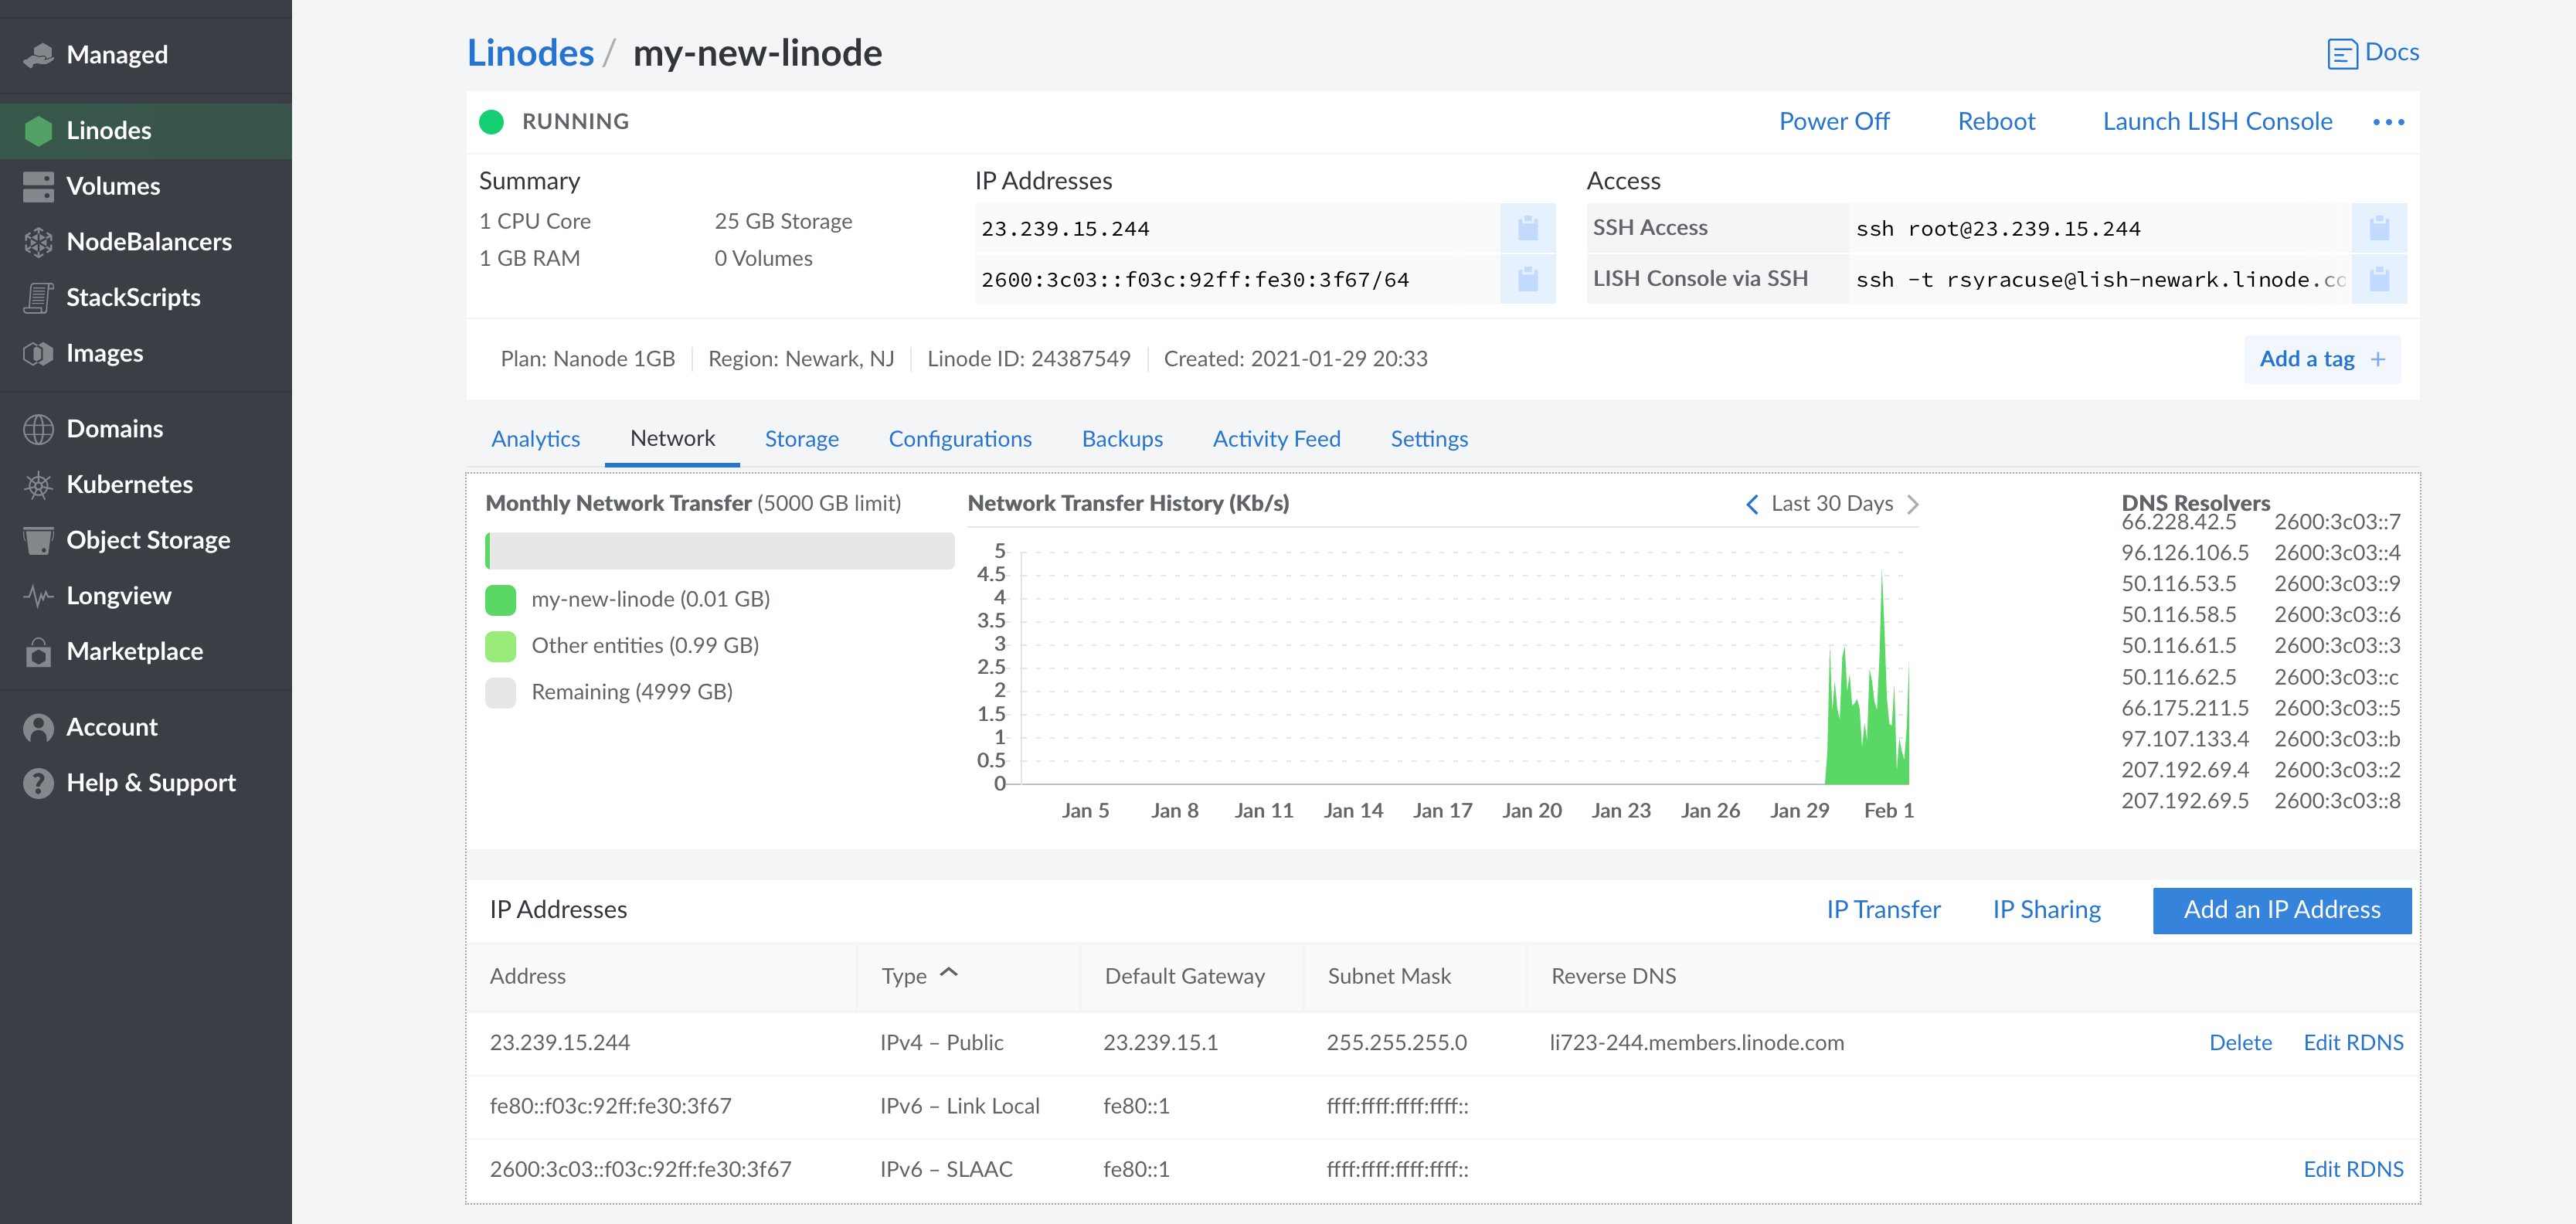
Your DNS resolver addresses are listed under the Networking tab of the Linode detail page in the Cloud Manager, though of course you are free to use any resolvers you choose.
However, unless you have a specific reason for doing so, you should not change your Linode’s nameservers by editing /etc/resolv.conf. Depending on your distribution, resolv.conf may be overwritten by a networking service such as NetworkManager or systemd-resolved. Resolver options are usually set in the network interface’s configuration file.
Disable Network Helper
Our Network Helper tool is enabled by default for new Linodes. It automatically configures static IPv4 addresses, routing, and DNS on each bootup of your Linode. When manually setting static addressing, Network Helper must be disabled so it doesn’t overwrite your changes on the next reboot. You can disable Network Helper either globally for all of the Linodes on your account, or for individual Linodes, by following the Network Helper Settings section of our network helper guide.
Configure Static Addressing
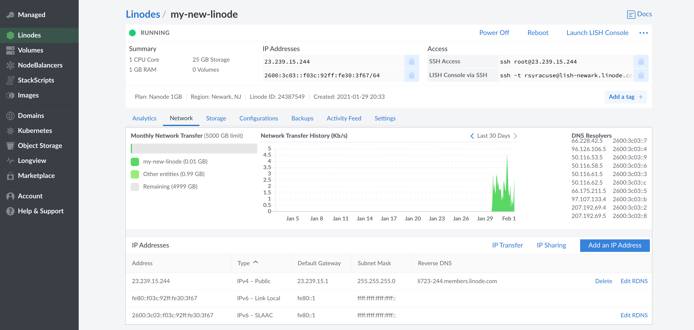
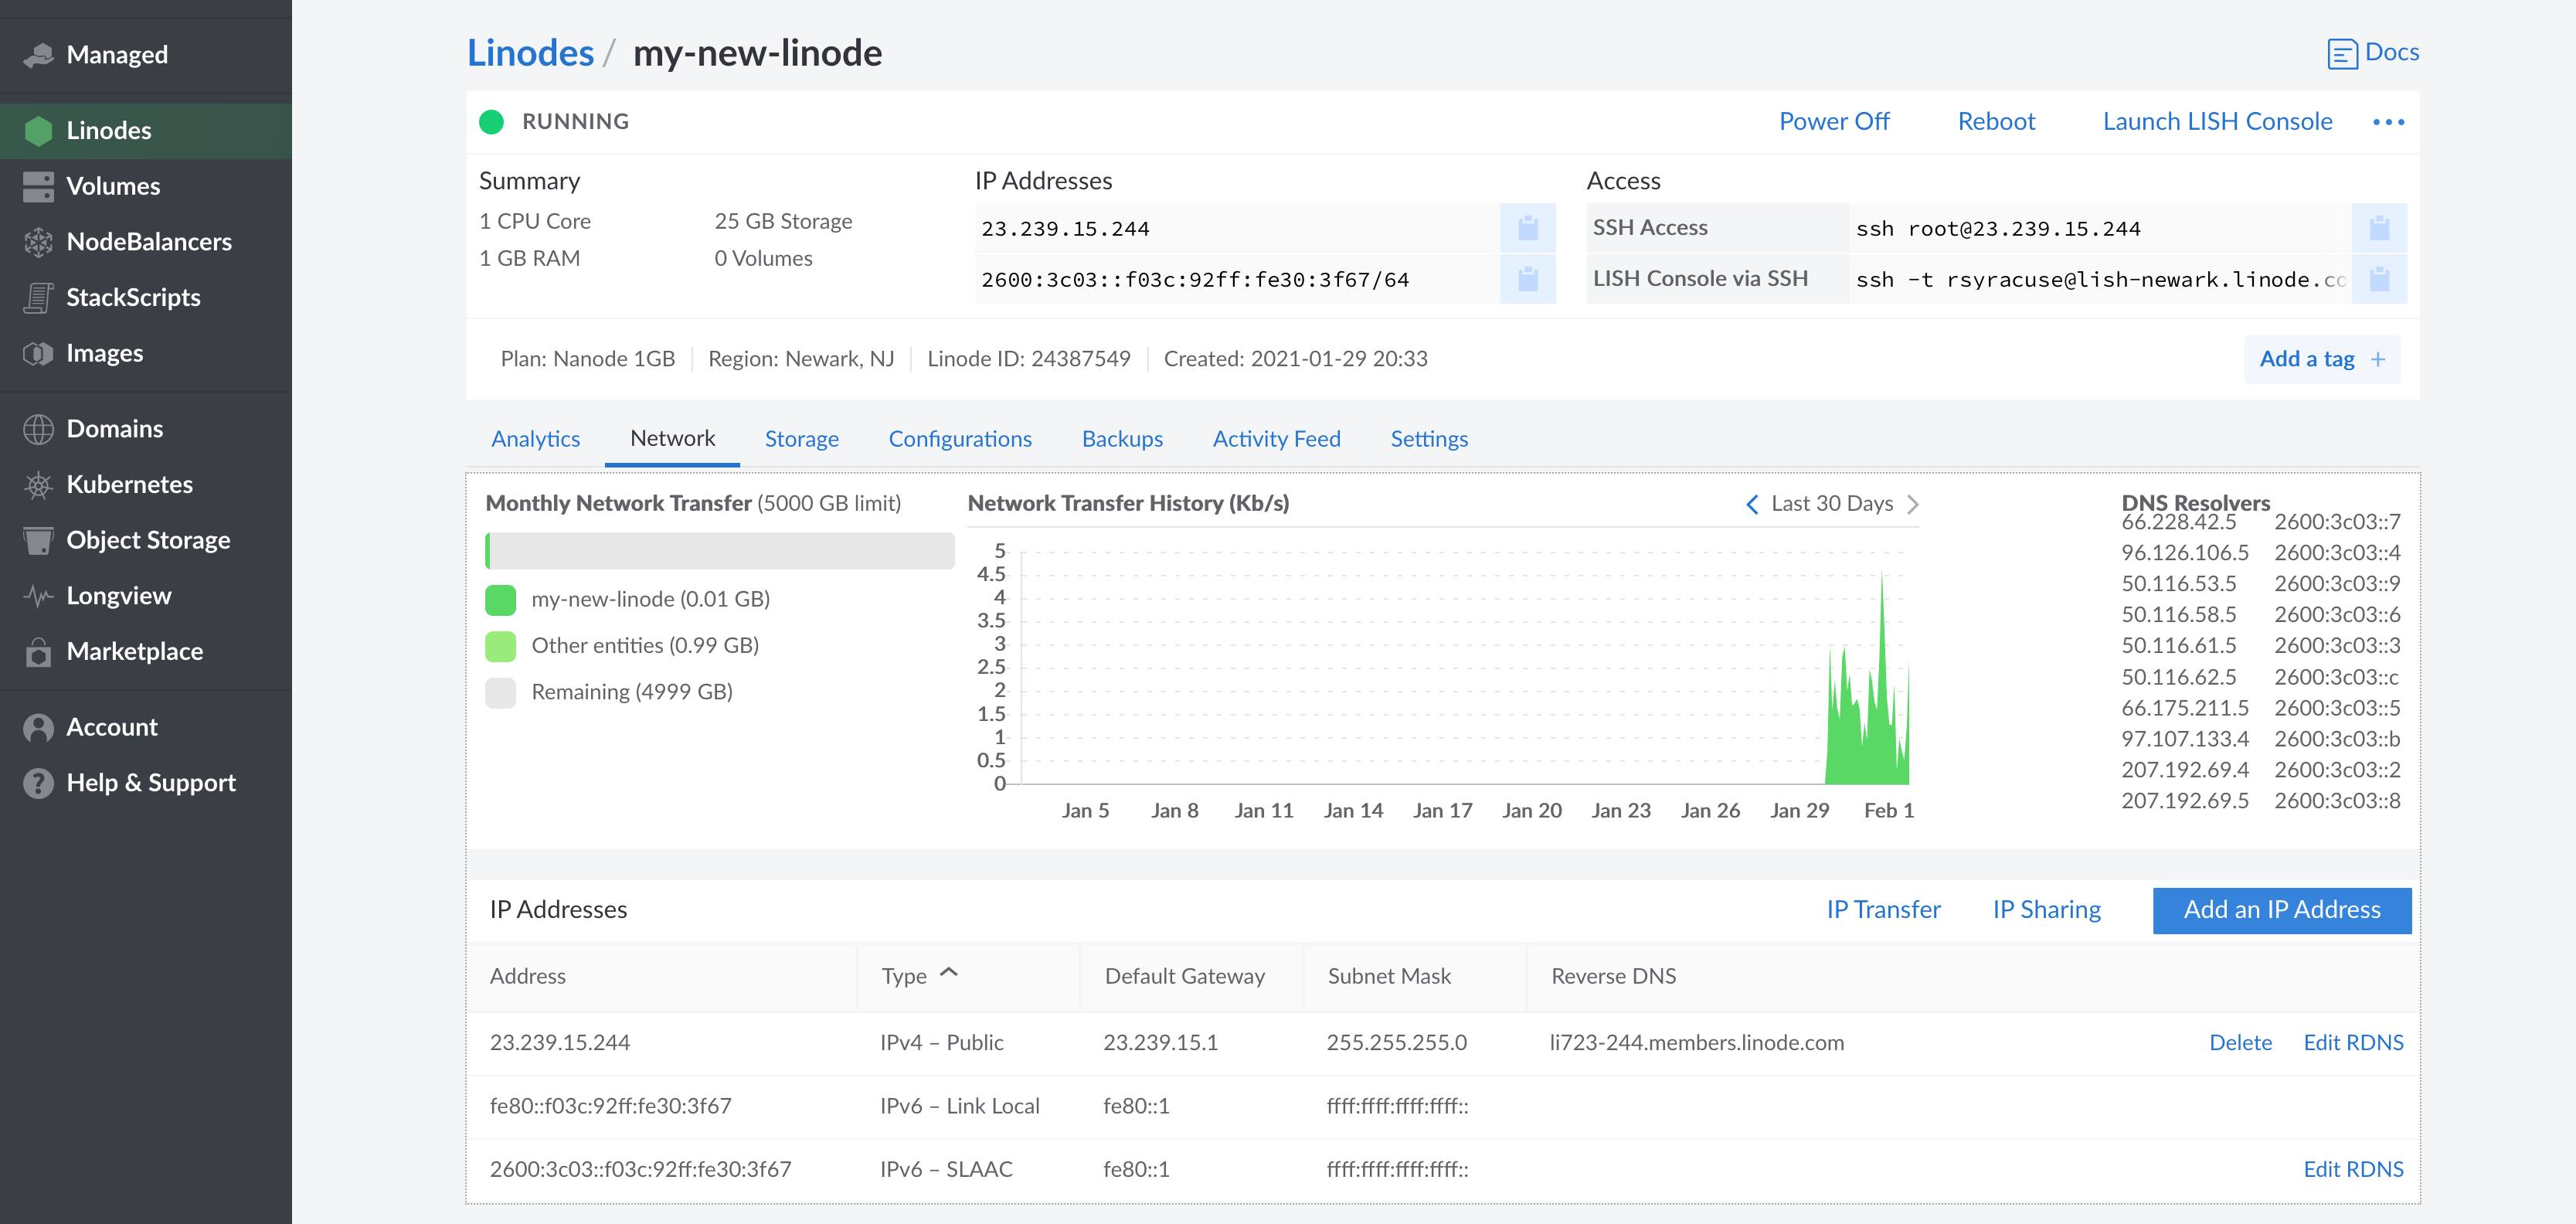
To find the networking information for each of your Linodes in your Linode Manager, click on the Linodes tab to the left of the page, select the Linode you’ll be configuring, then click on the Networking towards the top.


You’ll see the following information for your Linode. Use this information to configure your Linode’s network settings as shown below.
- IPv4 and IPv6 addresses (both private and public)
- IPv4 gateway
- IPv6 gateway
- DNS resolvers (if you want to use Linode’s)
Below are example configurations for the given Linux distribution. Edit the example files substituting the example IP addresses with those of your Linode, gateway and DNS nameservers. Depending on the amount of addresses you want to configure, not all lines will be necessary.
NoteAll IPv6 pools are routed through the original IPv6 SLAAC address for a Linode. For this reason, the original IPv6 SLAAC address must always be the first IPv6 address included in a network configuration. If you would like to include a secondary IPv6 address from an IPv6 range that’s already been assigned to your Linode Compute Instance, include it under any configuration fields or variables for secondary IPv6 addresses.
Arch, CoreOS Container Linux
Networking in these distributions is managed entirely by systemd. See man systemd-networkd and man systemd-resolved for more information.
- File: /etc/systemd/network/05-eth0.network
1 2 3 4 5 6 7 8 9 10 11 12 13 14 15 16 17 18 19 20 21 22 23 24 25 26 27[Match] Name=eth0 [Network] DHCP=no Domains=203-0-113-0.ip.linodeusercontent.com IPv6PrivacyExtensions=false # DNS resolvers (safe to mix IPv4 and IPv6) DNS=203.0.113.1 2001:db8:0:123::1 203.0.113.2 # IPv4 gateway and primary public IPv4 address. Gateway=198.51.100.1 Address=198.51.100.2/24 # Add a second public IPv4 address. Address=198.51.100.3/24 # Add a private address: Address=192.168.133.234/17 # IPv6 gateway and primary IPv6 SLAAC address. Gateway=fe80::1 Address=2001:db8:2000:aff0::2/64 # Add a second IPv6 address. Address=2001:db8:2000:aff0::3/64
NoteOn Container Linux, you need to rename or remove the original cloud config data so it doesn’t take precedence on reboots over the eth0 configuration above. Do this withsudo mv /var/lib/coreos-install/user_data /var/lib/coreos-install/user_data.bak.
CentOS 7, Fedora
Networking in CentOS 7 and Fedora is managed by systemd and NetworkManager. See man systemd-networkd and man networkmanager for more information. Note that NetworkManger in CentOS 7 and Fedora includes the tools nmtui and nmcli to modify network configurations. Those are additional options to set static addressing if you would prefer to not directly edit the network interface’s configuration file. See man nmtui and man nmcli for more info.
- File: /etc/sysconfig/network-scripts/ifcfg-eth0
 1
 2
 3
 4
 5
 6
 7
 8
 9
10
11
12
13
14
15
16
17
18
19
20
21
22
23
24
25
26
27
28
29
30
31
32
33
34
35
36
37
38
39
40
41
42
# Edit this line from "dhcp" to "none": BOOTPROTO=none # If present, edit from "yes" to "no": PEERDNS=no # Edit from "yes" to "no". IPV6_AUTOCONF=no ... # Add the following lines: DOMAIN=203-0-113-0.ip.linodeusercontent.com # We specifically want GATEWAY0 here, not # GATEWAY without an integer following it. GATEWAY0=198.51.100.1 # DNS resolvers (safe to mix IPv4 and IPv6) DNS1=203.0.113.1 DNS2=2001:db8:0:123::1 203.0.113.2 # Your primary IPv4 address. The netmask # is taken from the PREFIX (where 24 is a # public IP, 17 is a private IP) IPADDR0=198.51.100.5 PREFIX0=24 # Add a second public IPv4 address. IPADDR1=198.51.100.10 PREFIX1=24 # Add a private IPv4 address. IPADDR2=192.0.2.6 PREFIX2=17 # IPv6 gateway and primary IPv6 SLAAC address. IPV6_DEFAULTGW=fe80::1%eth0 IPV6ADDR=2001:db8:2000:aff0::2/128 # Add additional IPv6 addresses, separated by a space. IPV6ADDR_SECONDARIES="2001:db8:2000:aff0::3/64 2001:db8:2000:aff0::4/64"
CentOS 6
Networking CentOS 6 is managed by dhclient. NetworkManager is not installed by default, however a static configuration for CentOS 6 differs only slightly from CentOS 7 and Fedora. See the RHEL 6 Deployment Guide for more information.
- File: /etc/sysconfig/network-scripts/ifcfg-eth0
 1
 2
 3
 4
 5
 6
 7
 8
 9
10
11
12
13
14
15
16
17
18
19
20
21
22
23
24
25
26
27
28
29
30
31
32
33
34
35
36
37
38
39
40
41
# Edit this line from "dhcp" to "none": BOOTPROTO=none # If present, edit from "yes" to "no": PEERDNS=no # If present, edit from "yes" to "no": IPV6_AUTOCONF=no ... # Add the following lines: DOMAIN=203-0-113-0.ip.linodeusercontent.com # We specifically want GATEWAY0 here, not # GATEWAY without an integer following it. GATEWAY=198.51.100.1 # DNS resolvers (safe to mix IPv4 and IPv6) DNS1=203.0.113.1 DNS2=2001:db8:0:123::1 # Your primary IPv4 address. The netmask # is taken from the PREFIX (where 24 is a # public IP, 17 is a private IP) IPADDR0=198.51.100.5 PREFIX0=24 # Add a second public IPv4 address. IPADDR1=198.51.100.10 PREFIX1=24 # Add a private IPv4 address. IPADDR2=192.0.2.6 PREFIX2=17 # Your primary IPv6 SLAAC address (specifying gateway not necessary). IPV6ADDR=2001:db8:2000:aff0::2/64 # Add additional IPv6 addresses, separated by a space. IPV6ADDR_SECONDARIES="2001:db8:2000:aff0::3/64 2001:db8:2000:aff0::4/64"
Debian
Debian 7 and above all use ifup and ifdown to manage networking. In that configuration, Debian is one distribution where it’s safe to directly edit /etc/resolv.conf because nothing will overwrite your changes if you reboot or restart networking services.
Though systemd-networkd and systemd-resolved are both present in Debian 8 and 9, they’re not enabled. If you decide to enable these systemd services to manage networking, you can not set static addresses in the file /etc/network/interfaces as shown below. You’ll need to use the section further above for
Arch and Container Linux. For more information, see man ifup, man ifdown, man interfaces 5, man systemd-networkd and man systemd-resolved.
Edit your configuration file to add the appropriate information:
- File: /etc/network/interfaces
 1
 2
 3
 4
 5
 6
 7
 8
 9
10
11
12
13
14
15
16
17
18
19
20
21
. . . # IPv4 gateway and primary address. The netmask # is taken from the PREFIX (where 24 is a # public IP, 17 is a private IP) iface eth0 inet static address 198.51.100.5/24 gateway 198.51.100.1 # Add a second public IPv4 address. iface eth0 inet static address 198.51.100.10/24 # IPv6 gateway and primary IPv6 SLAAC address. iface eth0 inet6 static address 2001:db8:2000:aff0::1/64 gateway fe80::1 # Add a second IPv6 address. iface eth0 inet6 static address 2001:db8:2000:aff0::2/64
Populate
resolv.confwith DNS resolver addresses and resolv.conf options ( see man 5 resolv.conf). Be aware that resolv.conf can only use up to threenameserverentries. The domain and options lines aren’t necessary, but useful to have.- File: /etc/resolv.conf
1
2
3
4
5
nameserver 203.0.113.1 nameserver 2001:db8:0:123::3 nameserver 203.0.113.3 domain 203-0-113-0.ip.linodeusercontent.com options rotate
Gentoo
Networking in Gentoo is managed by netifrc. See the Gentoo Wiki and Gentoo handbook for more information.
- File: /etc/conf.d/net
 1
 2
 3
 4
 5
 6
 7
 8
 9
10
11
12
13
14
15
16
17
# IPv4 gateway. Not necessary to specify IPv6 gateway. routes_eth0="default via 198.51.100.1" # IPv4 addresses, private and public. config_eth0="198.51.100.5/24 198.51.100.10/24 192.0.2.6/17" # IPv6 Addresses config_eth0="2001:db8:2000:aff0::1/64 2001:db8:2000:aff0::2/64 2001:db8:2000:aff0::3/64" # DNS resolvers. Can mix IPv4 and IPv6. dns_servers_eth0="203.0.113.1 2001:db8:0:123::2 203.0.113.3"
OpenSUSE
Networking in OpenSUSE is managed by wicked and netconfig. In addition to directly editing the network configuration files shown below, you can also use YaST. See OpenSUSE’s networking documentation for more information.
Modify the interface’s config file:
- File: /etc/sysconfig/network/ifcfg-eth0
1 2 3 4 5 6 7 8 9 10 11 12 13 14 15 16 17 18 19 20BOOTPROTO=dhcp STARTMODE=auto IPV6_AUTOCONF=yes NAME=eth0 # Your primary public IP address and gateway. IPADDR=198.51.100.5/24 GATEWAY=198.51.100.1 # Add a second IPv4 address: IPADDR1=198.51.100.10/24 # Primary IPv6 SLAAC address and gateway. IPV6ADDR=2001:db8:2000:aff0::2/128 IPV6_DEFAULTGW=fe80::1 # Add additional IPv6 addresses, separated by a space. IPV6ADDR_SECONDARIES=2001:db8:2000:aff0::3/64 2001:db8:2000:aff0::4/64
Then add your IPv4 gateway to the network routes file:
- File: /etc/sysconfig/network/routes
1
2
# Destination Gateway Netmask Device default 198.51.100.1 - eth0
Last, set your DNS resolvers and options for netconfig, which then uses this info to modify
resolv.conf:- File: /etc/sysconfig/network/config
1
2
3
4
5
6
. . . NETCONFIG_DNS_STATIC_SERVERS="203.0.113.1 2001:db8:0:123::2 203.0.113.3" . . . NETCONFIG_DNS_STATIC_SEARCHLIST="203-0-113-0.ip.linodeusercontent.com" . . . NETCONFIG_DNS_RESOLVER_OPTIONS="rotate"
Ubuntu 18.04 and 20.04
Netplan is used to configure networking in Ubuntu 18.04 and later. Ubuntu Server is packaged with systemd-networkd as the
backend for Netplan, while NetworkManager is used as the Netplan backend in Ubuntu Desktop. The ifupdown package has been deprecated, and /etc/network/interfaces is no longer used, but it’s still possible to configure static networking with /etc/systemd/network/*.network files.
NoteIf you have upgraded to Ubuntu 18.04 or later from an earlier version, you may need to enable
systemd-networkd:systemctl enable systemd-networkd
Remove default configuration files that may interfere with static addressing:
sudo rm /etc/systemd/network/05-eth0.network
sudo rm /etc/netplan/01-netcfg.yaml
Create the configuration file for Netplan:
- File: /etc/netplan/01-eth0.yaml
 1
 2
 3
 4
 5
 6
 7
 8
 9
10
11
12
13
14
15
16
17
18
# This file describes the network interfaces available on your system # For more information, see netplan(5). network: version: 2 renderer: networkd ethernets: eth0: dhcp4: no dhcp6: no addresses: - 198.51.100.5/24 # Your Linode's public IPv4 address. - 192.168.1.2/17 # Private IPv4 address. - "2001:db8:2000:aff0::2/64" # Primary IPv6 SLAAC address. gateway4: 198.51.100.1 # Primary IPv4 gateway. gateway6: "fe80::1" # Primary IPv6 gateway. nameservers: search: [203-0-113-0.ip.linodeusercontent.com] # Search domain. addresses: [203.0.113.20,203.0.113.21] # DNS Server IP addresses.
Apply the changes and reboot:
sudo netplan apply
Ubuntu 14.04 and 16.04
Ubuntu 14.04 and 16.04 include
resolvconf in their base installation. This is an application which manages the contents of /etc/resolv.conf, so do not edit resolv.conf directly. Instead, add DNS resolver addresses and options to the network interface file as shown.
Like with Debian, systemd-networkd and systemd-resolved are both present but not enabled in Ubuntu 16.04. If you decide to enable these services to manage networking, you can not set static addresses in the file /etc/network/interfaces as shown below. You’ll need to use the section further above for
Arch and Container Linux. For more information, see man ifup, man ifdown, man interfaces 5, man systemd-networkd and man systemd-resolved.
- File: /etc/network/interfaces
 1
 2
 3
 4
 5
 6
 7
 8
 9
10
11
12
13
14
15
16
17
18
19
20
21
22
23
24
25
26
. . . # IPv4 gateway and primary address. The netmask # is taken from the PREFIX (where 24 is a # public IP, 17 is a private IP) iface eth0 inet static address 198.51.100.5/24 gateway 198.51.100.1 # Add DNS resolvers for resolvconf. Can mix IPv4 and IPv6. dns-nameservers 203.0.113.1 2001:db8:0:123::2 203.0.113.3 dns-search 203-0-113-0.ip.linodeusercontent.com dns-options rotate # Add a second public IPv4 address. iface eth0 inet static address 198.51.100.10/24 # IPv6 gateway and primary IPv6 SLAAC address. iface eth0 inet6 static address 2001:db8:2000:aff0::1/64 gateway fe80::1 # Add a second IPv6 address. iface eth0 inet6 static address 2001:db8:2000:aff0::2/64
Apply Your Changes
To apply your changes, reboot from the Linode Manager’s dashboard. Rebooting ensures that the new settings take effect without issues and that the all networking services reliably start again.
If for whatever reason you prefer not to reboot, you should be able to bring your networking online using the following series of commands with most major Distributions:
sudo ip addr flush dev eth0
ip link set eth0 up
ip addr add 198.51.100.5/24 broadcast 198.51.100.255 dev eth0
ip route add default via 198.51.100.1
Test Connectivity
Log into your Linode via SSH.
Use the
iptool to be sure the addresses you set above were applied:root@localhost:~# ip addr | grep inet inet 127.0.0.1/8 scope host lo inet6 ::1/128 scope host inet 198.51.100.5/24 brd 198.51.100.255 scope global eth0 inet6 2600:3c02::f03c:91ff:fe24:3a2f/64 scope global inet6 fe80::f03c:91ff:fe24:3a2f/64 scope linkConfirm that your
/etc/resolv.confexists and is correct. Its contents will differ according to the Linux distribution.root@localhost:~# cat /etc/resolv.conf nameserver 8.8.8.8 nameserver 2001:4860:4860::8888 domain 203-0-113-0.ip.linodeusercontent.com options rotateTry pinging something to confirm you have full connectivity, both over IPv4 and IPv6.
ping -c 3 google.com
ping6 -c 3 ipv6.google.com
This page was originally published on


