Getting Started with Dedicated CPUs
Traducciones al EspañolEstamos traduciendo nuestros guías y tutoriales al Español. Es posible que usted esté viendo una traducción generada automáticamente. Estamos trabajando con traductores profesionales para verificar las traducciones de nuestro sitio web. Este proyecto es un trabajo en curso.
This guide will serve as a brief introduction into what a Dedicated CPU Linode is and how to add one to your Linode account. Review our Use Cases for Dedicated CPUs guide for more information about the tasks that work well on this instance type.
What is a Dedicated CPU Linode?
In contrast with a Shared Linode, which gives you access to shared virtual CPU cores, a Dedicated CPU Linode offers entire physical CPU cores that are accessible only by your instance. Because your cores will be isolated to your Linode, no other Linodes can schedule processes on them, so your instance will never have to wait for another process to complete its execution, and your software can run at peak speed and efficiency.
While a Shared Linode is a good fit for most use cases, a Dedicated CPU Linode is recommended for a number of workloads related to high, sustained CPU processing, including:
CI/CD toolchains and build servers
CPU-intensive game servers, like Minecraft or Team Fortress
Big data and data analysis
Scientific Computing
Note
For more information on Dedicated CPU use cases, see our Use Cases for Dedicated CPU Instances.
Deploying a Dedicated CPU Linode


Log in to the Linode Cloud Manager.
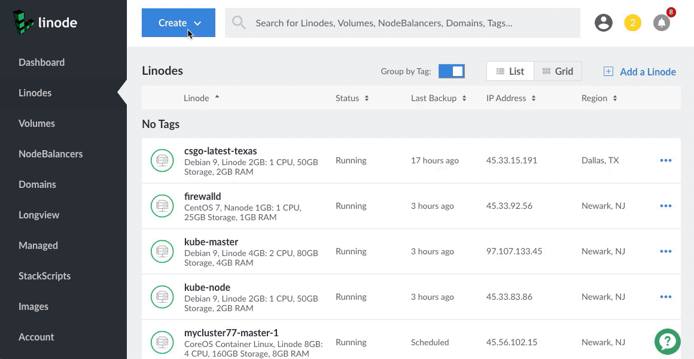
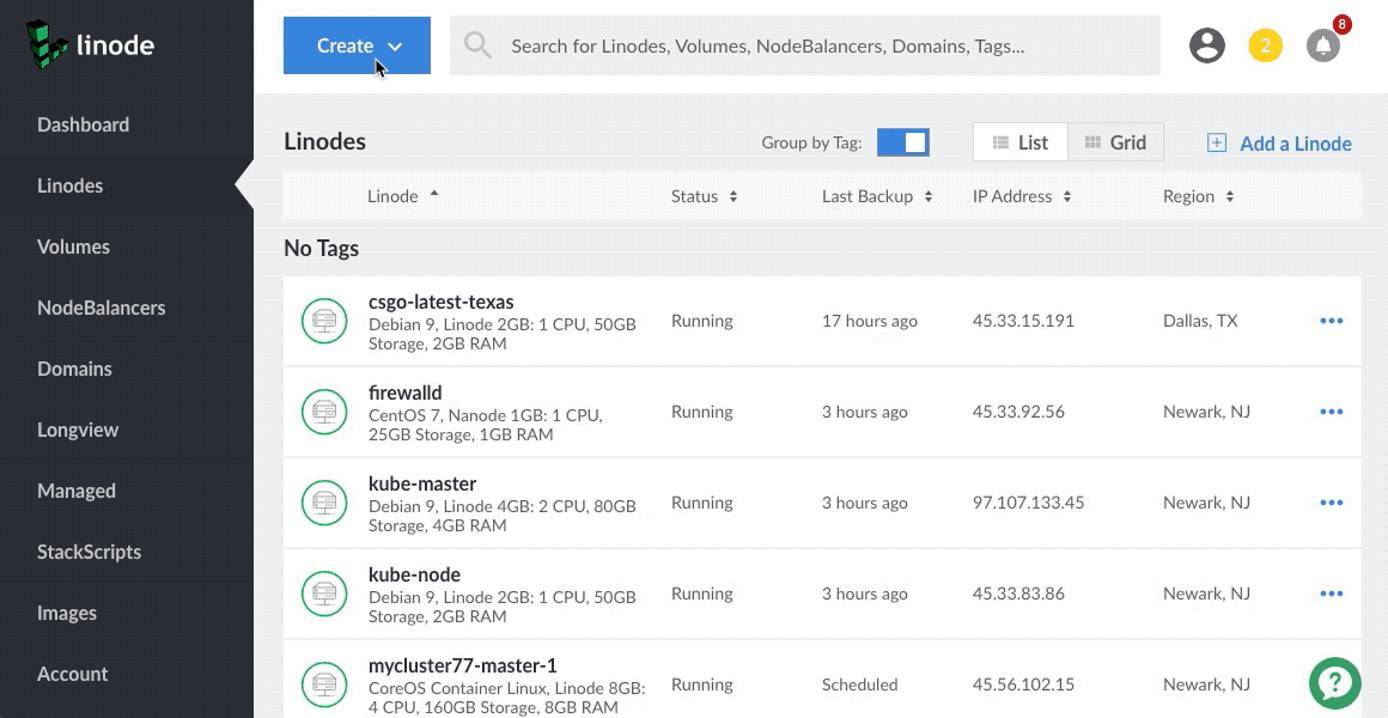
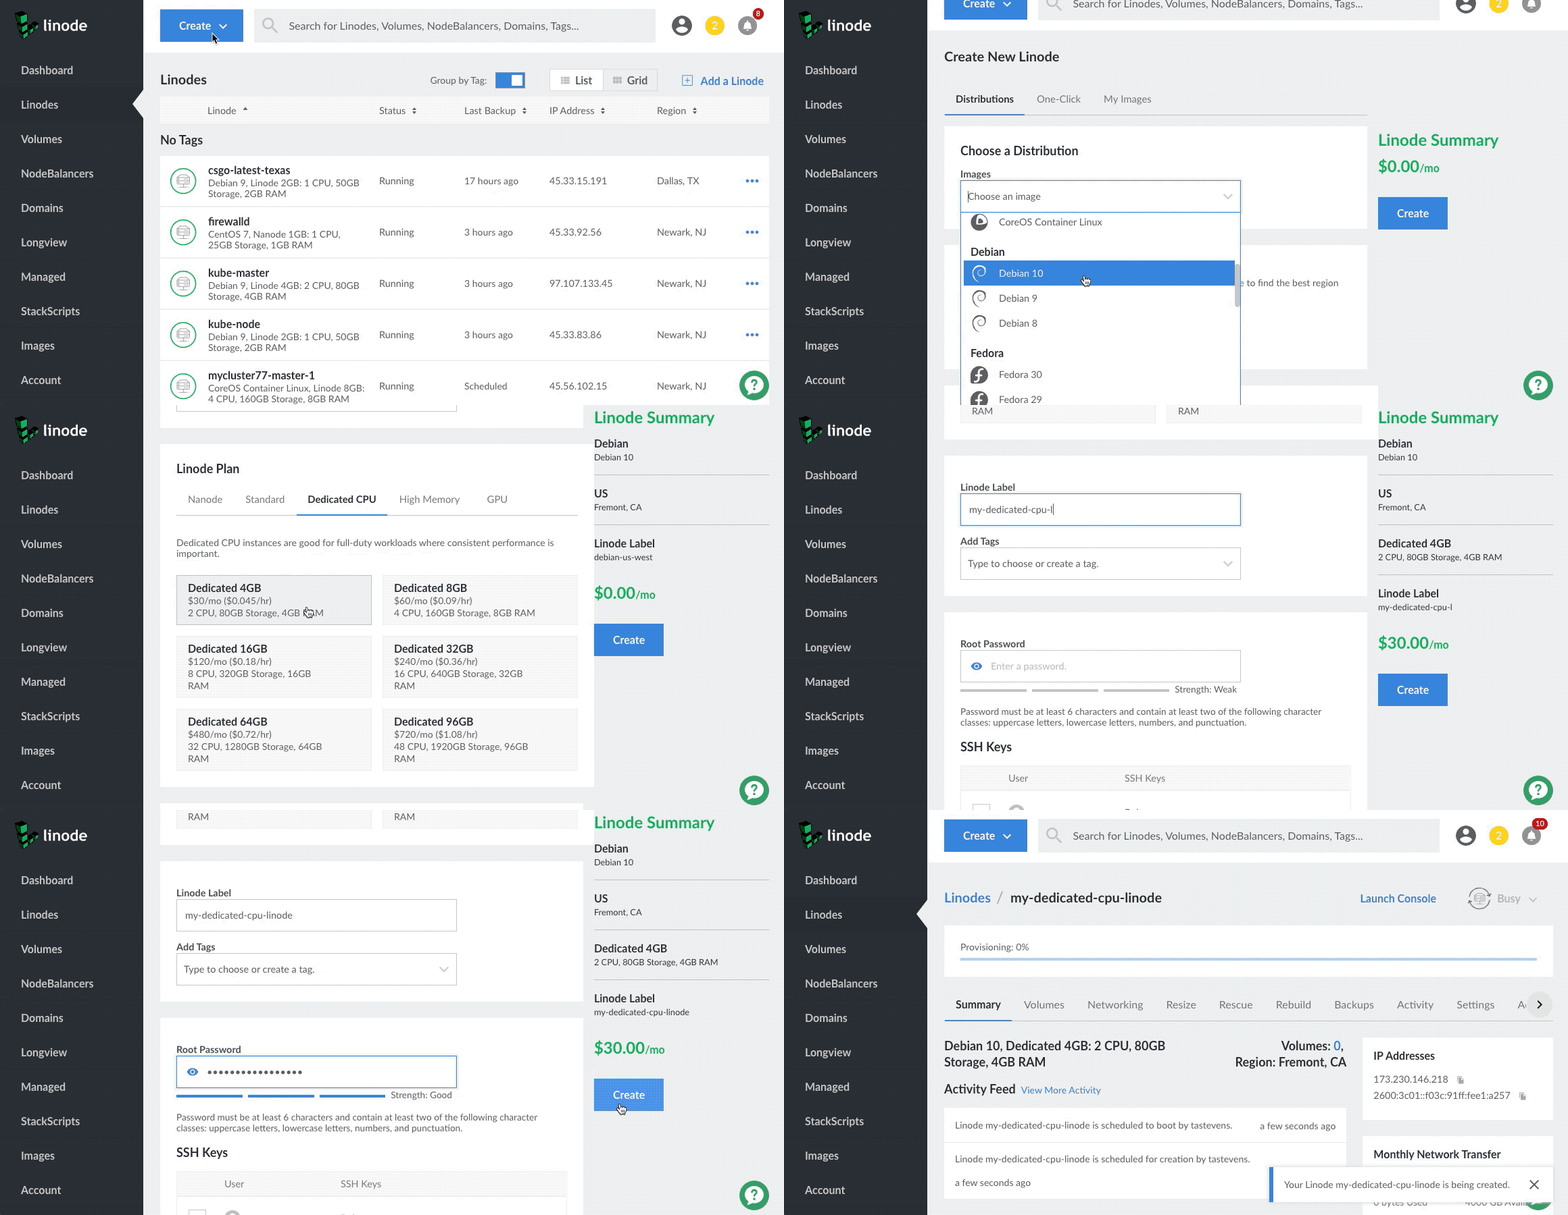
Click on the Create dropdown menu at the top left of the page, and select the Linode option.
Select a Distribution, Marketplace App, or Image to deploy from.
Note
Use a StackScript to quickly deploy software platforms and system configuration options to your Linux distribution. You can read more about Stackscripts and how they work in our Automating Deployments with Stackscripts Guide.Choose the region where you would like your Linode to reside. If you’re not sure which to select, see our How to Choose a Data Center guide. You can also generate MTR reports for a deeper look at the network route between you and each of our data centers.
At the top of the Linode Plan section, click on the Dedicated CPU tab and select the Dedicated CPU plan you would like to use.
Enter a label for your new Linode under the Linode Label field.
Enter a strong root password for your Linode in the Root Password field. This password must be provided when you log in to your Linode via SSH. The password must meet the complexity strength validation requirements for a strong password. Your root password can be used to perform any action on your server, so make it long, complex, and unique.
Note
You are not prompted to enter a root password if you are cloning another Linode or restoring from the Linode Backups service.Optionally, add an SSH key, Backups, or a Private IP address.
Click the Create button when you have finished completing this form. You are redirected to the overview page for your new Linode. This page shows a progress bar which indicates when the Linode has been provisioned and is ready for use.
Next Steps
See our Creating a Compute Instance guide for help with connecting to your Linode for the first time and configuring the software on it. Then visit the Setting Up and Securing a Compute Instance guide for a collection of security best practices for your new Linode.
This page was originally published on


