Deploy Websites with a Cherokee Web Server on Ubuntu 12.04
- Deprecated guides:
- Ubuntu 9.10
- Ubuntu 9.04
- Ubuntu 10.04
- Fedora 14
- Fedora 13
- Debian 5
Traducciones al EspañolEstamos traduciendo nuestros guías y tutoriales al Español. Es posible que usted esté viendo una traducción generada automáticamente. Estamos trabajando con traductores profesionales para verificar las traducciones de nuestro sitio web. Este proyecto es un trabajo en curso.
DeprecatedThis guide has been deprecated and is no longer being maintained.
Cherokee is a fast, flexible web server for POSIX compliant operating systems such as Linux. It’s designed to be easy to administer, and includes support for a wide range of common web server functions.
This tutorial explains how to install and configure the Cherokee web server on Ubuntu 12.04 LTS (Precise Pangolin). You will be performing the installation through the terminal; please make sure you are logged into your Linode as root via SSH.
This document assumes that you already have a working and up-to-date Ubuntu 12.04 system. If you have not followed our Setting Up and Securing a Compute Instance guide, we recommend that you do so prior to following these instructions.
Set the Hostname
Before you begin installing and configuring the components described in this guide, please make sure you’ve followed our instructions for setting your hostname. Issue the following commands to make sure it is set properly:
hostname
hostname -f
The first command should show your short hostname, and the second command should show your fully qualified domain name (FQDN).
Check Package Sources
First, make sure you have the universe repositories enabled on your system. Your /etc/apt/sources.list should resemble the following (you may have to uncomment or add the universe lines):
- File: /etc/apt/sources.list
1 2 3 4 5 6 7 8 9 10 11 12 13 14 15 16## main & restricted repositories deb http://us.archive.ubuntu.com/ubuntu/ lucid main restricted deb-src http://us.archive.ubuntu.com/ubuntu/ lucid main restricted deb http://security.ubuntu.com/ubuntu lucid-security main restricted deb-src http://security.ubuntu.com/ubuntu lucid-security main restricted ## universe repositories deb http://us.archive.ubuntu.com/ubuntu/ lucid universe deb-src http://us.archive.ubuntu.com/ubuntu/ lucid universe deb http://us.archive.ubuntu.com/ubuntu/ lucid-updates universe deb-src http://us.archive.ubuntu.com/ubuntu/ lucid-updates universe deb http://security.ubuntu.com/ubuntu lucid-security universe deb-src http://security.ubuntu.com/ubuntu lucid-security universe
If you had to enable new repositories, issue the following commands to update your package lists:
apt-get update
apt-get upgrade
Next, we’ll get Cherokee installed and configured.
Install Cherokee
Enter the following command to install the Cherokee web server, its documentation and some useful modules (including support for SSL).
apt-get install cherokee cherokee-doc libcherokee-mod-libssl libcherokee-mod-streaming libcherokee-mod-rrd
Several packages will be installed in addition to the main server package. You may visit your Linode’s IP address (or domain name, if you have it pointed to the IP) in a web browser to verify that Cherokee is running. You should see the default Cherokee test page.
Configure Cherokee
The Cherokee web server includes an easy to use, comprehensive administration interface. This interface, known as cherokee-admin, is the recommended means of administering your web server.
Start cherokee-admin by issuing the following command:
cherokee-admin -b &
This instructs the administration program to bind to all IP addresses, so it may be reached remotely. It will be launched in the background, so you’ll still be able to use your SSH session. You should see output similar to the following:
root@hostname:~# cherokee-admin -b &
[1] 2154
root@hostname:~#
Login:
  User:              admin
  One-time Password: eFxccWtngt75ALZg

Web Interface:
  URL:               http://localhost:9090/

Cherokee Web Server 0.99.39 (Feb  2 2010): Listening on port ALL:9090, TLS
disabled, IPv6 disabled, using epoll, 4096 fds system limit, max. 2041
connections, caching I/O, single thread
Secure Admin Panel Access
Instead of binding to all interfaces on your Linode, you may wish to bind to localhost and use SSH port forwarding to securely reach the administration system from your workstation. To do so, issue the following commands to launch cherokee-admin and set up an SSH tunnel. The first command is not required if you haven’t already launched cherokee-admin. You may need to install the killall command first by issuing apt-get install psmisc on your Linode.
On your Linode:
killall cherokee-admin
cherokee-admin &
In a terminal window on your local workstation (MacOS X, Linux, BSD, etc) :
ssh -L 9090:localhost:9090 root@12.34.56.78 -N
Replace “12.34.56.78” with your Linode’s IP address. You may now visit http://localhost:9090 in your web browser via the SSH tunnel. To stop the tunnel, simply press Ctrl+C in your local terminal window.
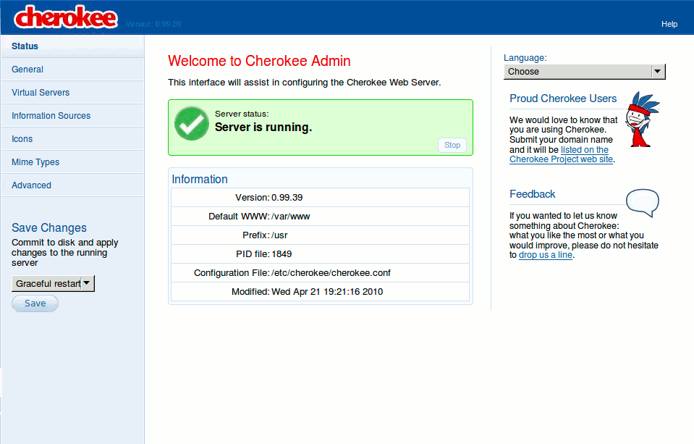
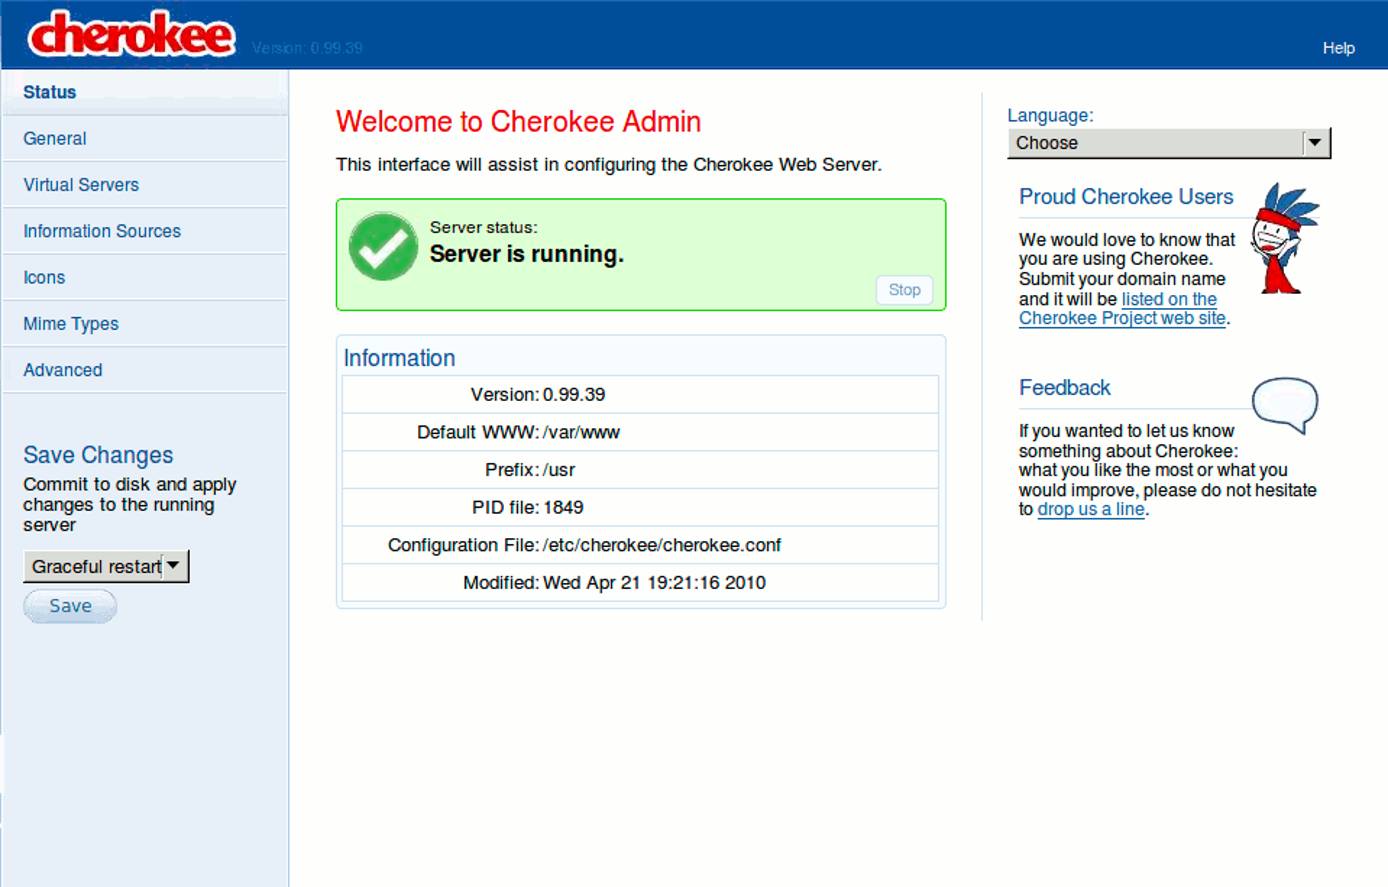
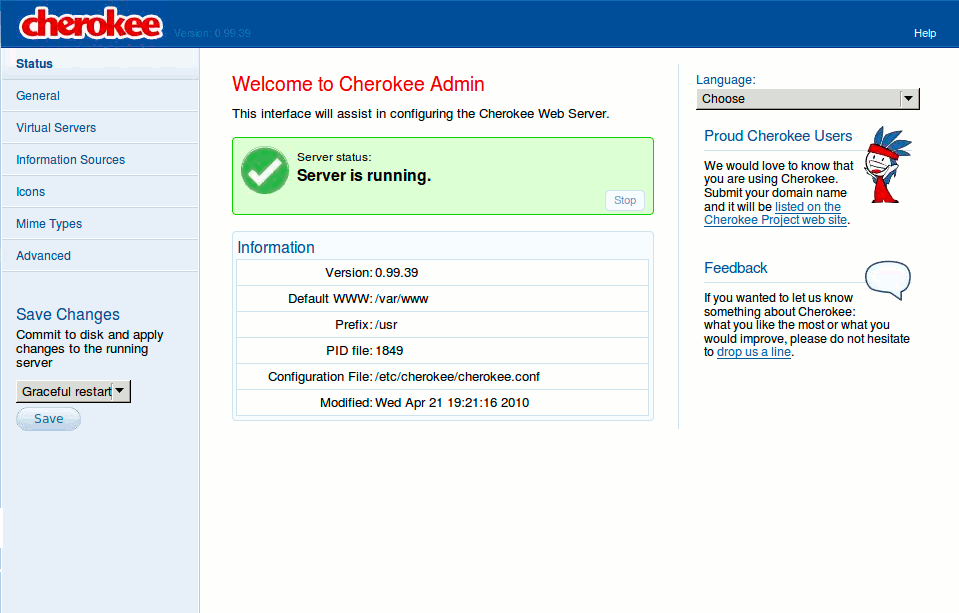
You’ll be presented with the Cherokee administration panel, which you may use to configure websites and specify configuration options. You’ll still need to log in using the username and one-time password provided when you launched cherokee-admin.
Secure Admin Panel Access on Windows
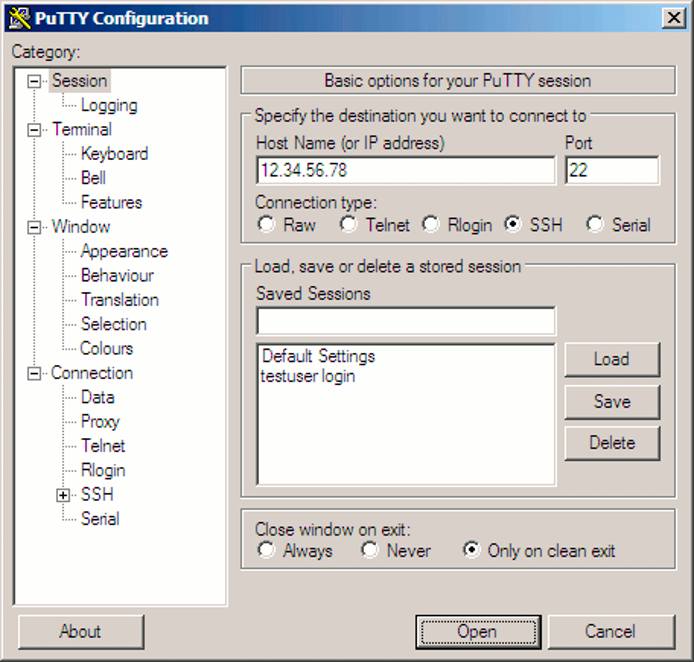
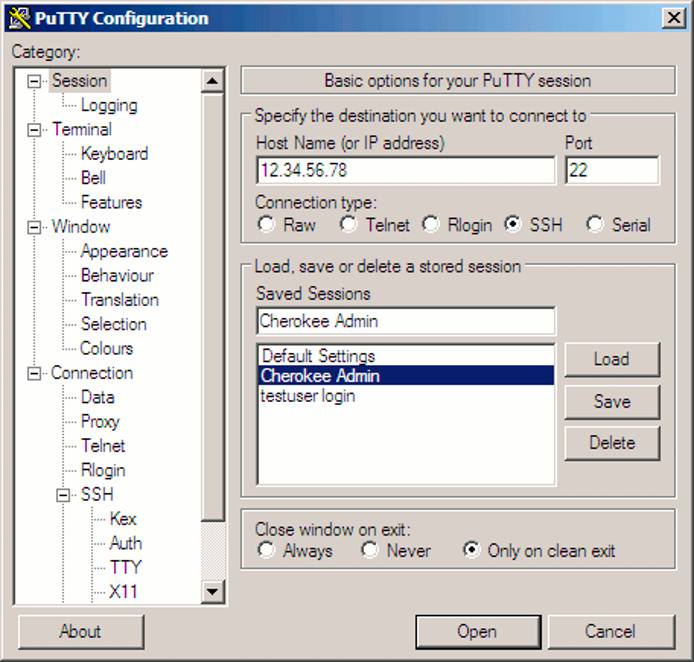
You can use PuTTY to set up a secure SSH tunnel for Cherokee administration. Enter your Linode’s public IP address in the session tab:
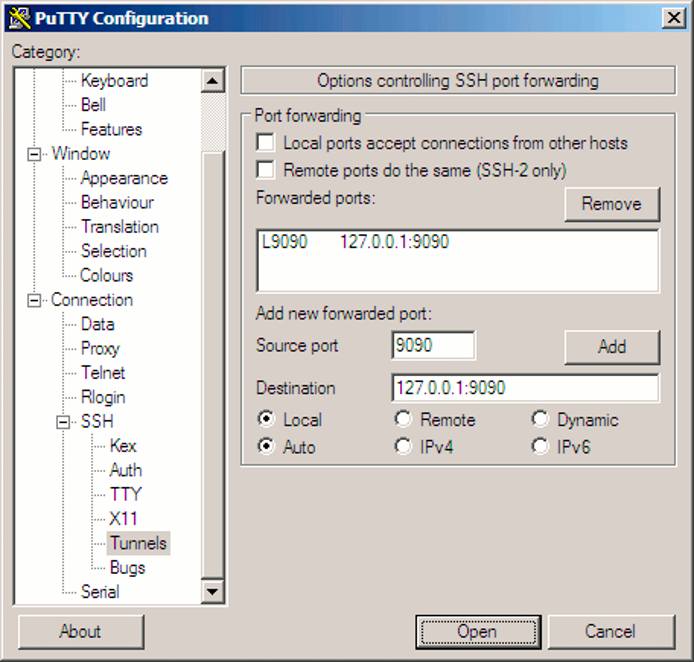
Expand the “Connection -> SSH” menus to select the “Tunnel” configuration page. Enter the values shown here:
Back on the session tab, enter “Cherokee Admin” in the “Saved Sessions” field and click “Save” to retain your settings for future use.
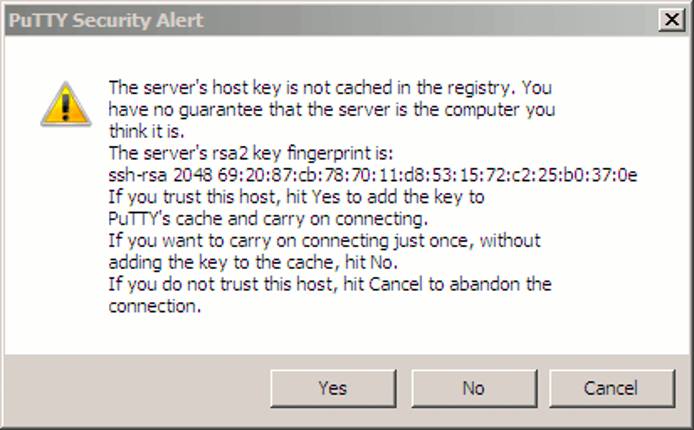
Click “Open” to connect to your server and start the tunnel. You may receive a warning similar to the one shown here:
Click “Yes” to continue, and log into your Linode as you normally would. As long as the SSH session is open you’ll be able to navigate to http://localhost:9090 in your web browser to access the Cherokee admin panel via the secure tunnel.
Conclusion
Be sure to stop cherokee-admin using the killall command shown above once you’re done configuring your system. Congratulations, you’ve successfully installed the Cherokee web server on your Linode!
More Information
You may wish to consult the following resources for additional information on this topic. While these are provided in the hope that they will be useful, please note that we cannot vouch for the accuracy or timeliness of externally hosted materials.
This page was originally published on


